Posts

Launch Day Arrives

Image
  Without great fanfare, or big audience, an impulsive 1st launch took place, the weather was nice and calm and reasonably warm for late October, so the opportunity was taken. The wind picked up a little later and we were able to give it a good test, it was quick to set up, sailed beautifully, and more stable than I was expecting, all attributes that I was hoping for, and the inspiration for making it. So luckily, worth all the effort.
Mast Complete

Image
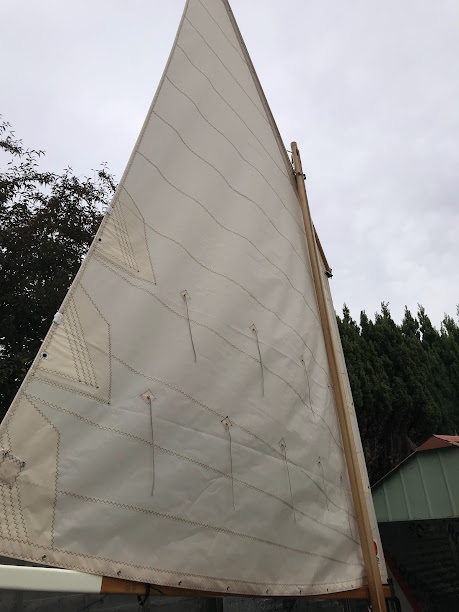
The mast is finally complete and now rigging can begin....... Some a bit temporary for now but will tidy it up when I know it works Virtually ready to launch, just as the weather is turning wintery, maybe a drysuit purchase is required.  
Image
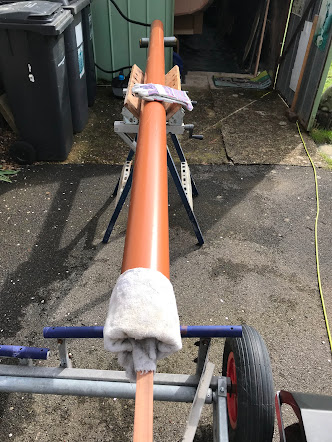
Finally on the Trolley Unable to source reasonably priced Sitka Spruce, I purchased a used Mk1 Cormorant mast from the classifieds and set about reshaping to somewhere near the Morbic dimensions. It came in at around 7kg when finished.  

Exterior finishing

Image
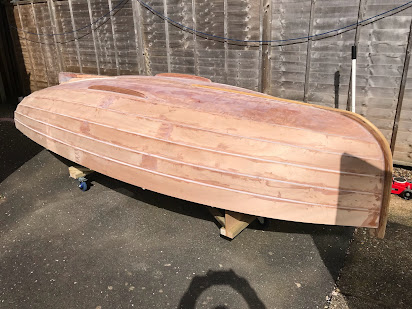
Coated with 2 layers of epoxy 2 coats of primer Finished with strip protectors, pintles and drain plug all now fitted. Ready to turn over again, now attentions have to turn back to finishing the mast and boom, and rigging with the nice Jeckell's sail that's been waiting patiently since March, it may even get launched before the winter......we'll see !  

And so on with the paint.....

Image
  Primed....... .........and painted Fitting out with thwarts, hatches and trim pieces. Rowlock sockets fitted Taken outside to turn back over upside down

Progressing nicely

Image
A very productive Bank Holiday weekend, nearly ready for paint ! Decks all bonded and filleted, who thought you could build a boat in such small confines? I am definitely getting better at the side step shuffle !! The thwarts are only placed in position, I'll paint everything first then fix them on top, I want to keep them removable for replacement if the soft timber poses an issue. They are made from Abodo timber, light but soft, edged with Sapele, we'll see how it fairs.  

Sparkly gunwales and centre board case

Image
  I decided to fill the gunwale gap with resin to add a contrasting stripe rather than a timber inlay. Progressing nicely, centre board case fitted, buoyancy chambers painted and seat tops glued down. I decided to go for a removable forward thwart seat as I want to regain floor lounging ability up front. There still seems a long way to go.........

Quarter knees & seat battens

Image
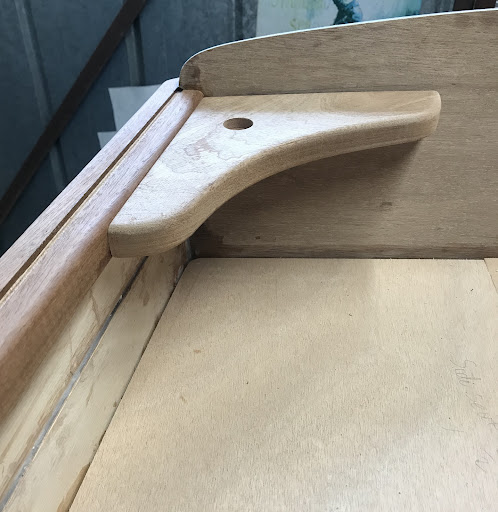
Quarter knees fitted. Seat battens and hatch hole doubler added. Progressing slowly but surely.  

Fitting the gunwales

Image
  Although the timber would bend to shape cold, the tension was quite a lot so a rudimentary steamer was made to ease this tension particularly at the bow. This picture shows how the bend has formed, with a little spring back but not much. Rubbing strips fitted.

Turn Over !!!!

Image
Wheeled out into the sun ready for lifting. Placed onto a tarp temporarily while I constructed the support cradle. It is actually very light at this stage, 2 person lift weight wise but 4 were ideal in rolling it over, mid air, and lowering it gently down. It is a relief that it all looks symmetrical and level. Let the fit out commence............  

Hardwood Timber Preparation

Image
Starting to cut the timber parts for the gunwales etc.... Thicknessed to final size I struggled to source 4 metre long Sapele, at a reasonable price, so after procrastinating since starting the build, I've decided to scarf a join and hope it doesn't affect the curvature too much. Glueing up the scarf joins  

Bottom faired, stem on and filleting finished.

Image
It doesn’t look very pretty in the photo but it is all smooth and faired flat. Trying out the keel runner also but I won't fix this until after the centreboard box is fitted and the slot routered out to its final size. I've used these fillers and can definitely recommend the 407 for fairing, hard but easily sanded and being a dark brown colour, turning to a lighter brown after sanding, it shows up well. I haven’t turned the hull over yet, just spun the photo upside-down to get an impression, hopefully this weekend I'll persuade some people that they would really like to help turn it over.    

Planking complete

Image
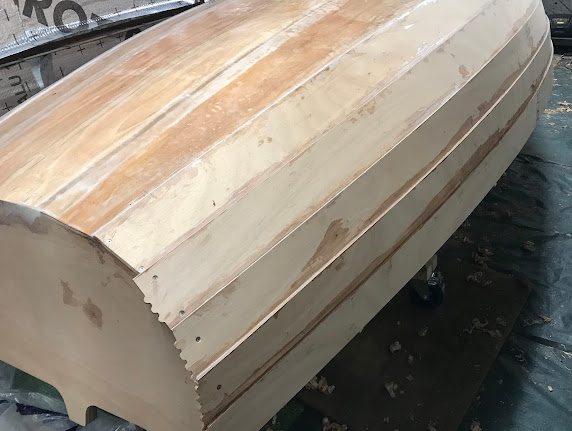
Planking finally complete and partially filleted - Hurray !!!!  

Sheaving & planking

Image
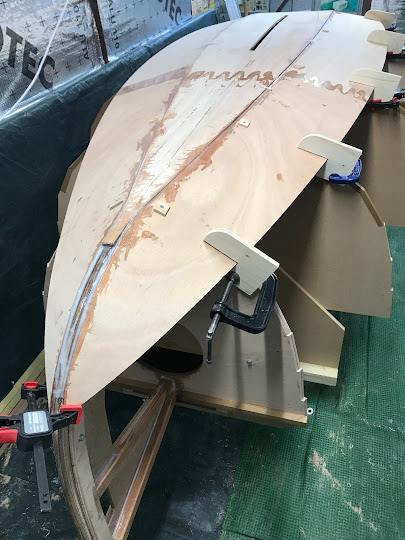
  Sheaving  the bottom boards Planking now continues......... Lots of clamps are useful, some bought and some made Planking now almost complete, just the sheer strake to go !

Garboards

Image
I managed to get both garboards fitted at the weekend despite the cold temperatures. Fairing the join Glass tape added over the joins